

How to Use Magwink PZ300: Setup Guide for the MagSafe Mount and 52mm Filters
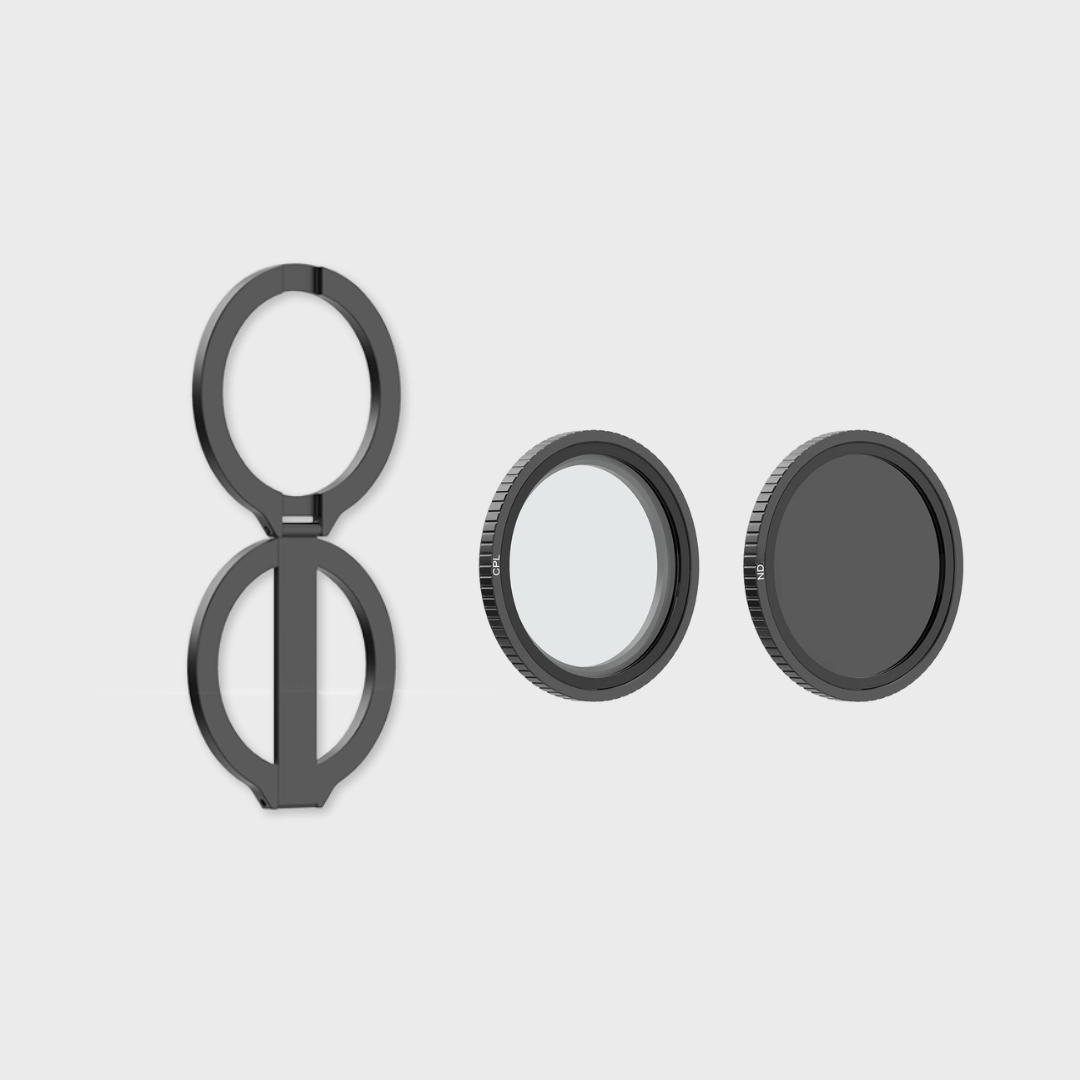
The Magwink PZ300 is a MagSafe mobile filter system designed to help you use real 52mm filters with your phone. With the PZ300, you can use different filters for different shooting situations, including a CPL filter, ND2-400 variable ND filter, 4-line short star filter, 10x macro lens, and orange and yellow filters for reef aquarium photography.
If you have just received your PZ300, this guide will help you do two things:
First, set up and adjust the MagSafe mount correctly.
Second, understand what each filter does and how to use it properly.
1. How to Set Up the PZ300 MagSafe Mount Correctly
The position of the PZ300 mount is very important. If the mount is not aligned with your phone camera, you may see vignetting, dark corners, or part of the filter ring in the frame.
1. Use a MagSafe Phone or MagSafe-Compatible Case
Before setup, make sure your phone supports MagSafe or that you are using a MagSafe-compatible phone case.
If your phone case is too thick or the magnetic ring is not aligned correctly, the PZ300 mount may shift slightly. For the first setup, we recommend testing it without a case first. Once the position looks correct, you can try using it with your phone case.
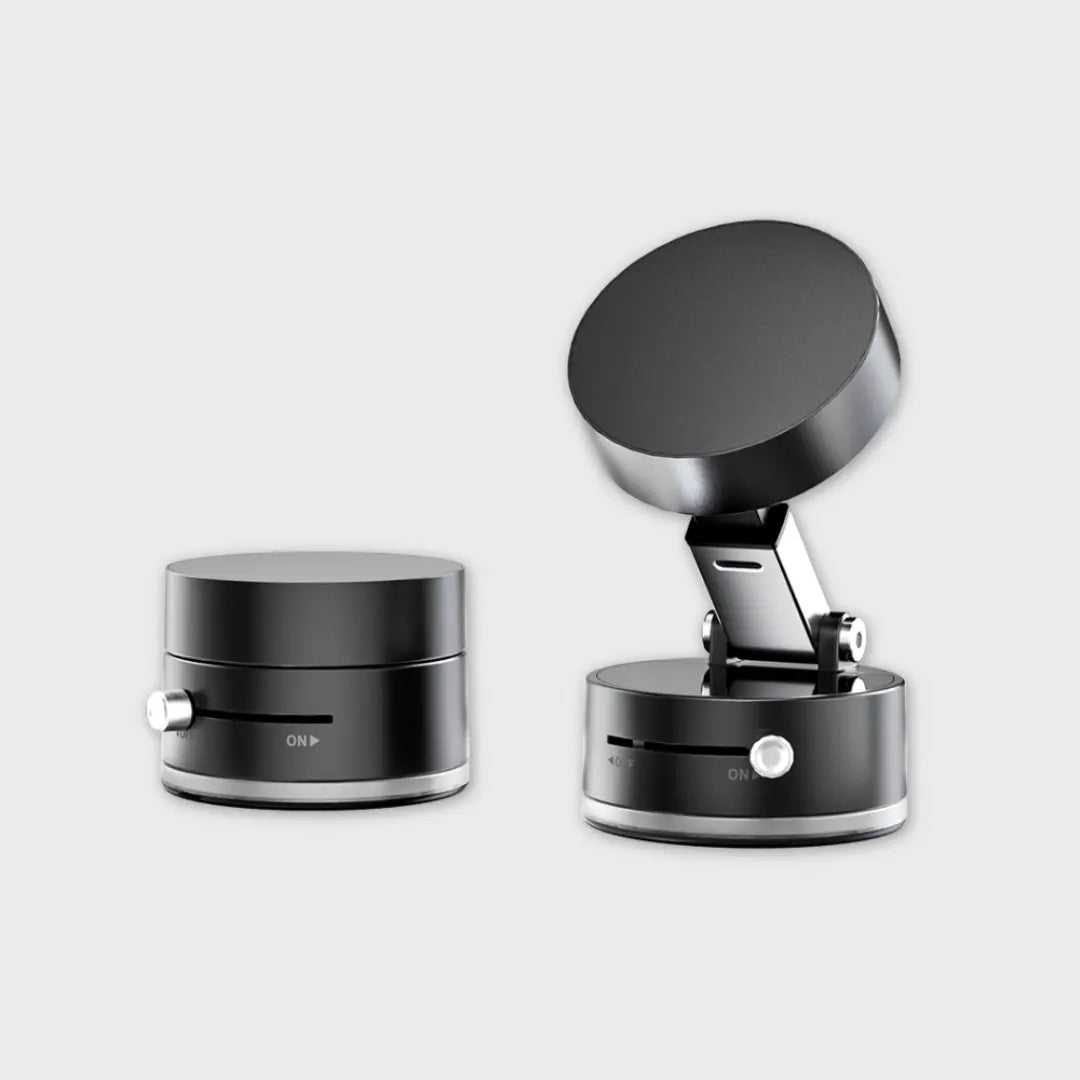
2. Attach the Mount to the MagSafe Area

Place the PZ300 mount onto the MagSafe area on the back of your phone.
Do not only check whether the mount is attached. Open your camera app and check whether the filter ring can cover the main camera properly.
For iPhone Pro and Pro Max models with larger camera modules, position the mount carefully and adjust the extendable arm to align the filter ring with the main camera.
3. Adjust the Arm and Align the Filter Ring with the 1x Main Camera

Open your camera app and switch to the 1x main camera.
Then gently adjust the PZ300 arm until the filter ring is centered over the main lens.
A correct setup should look like this:
- The 1x image is clear and complete;
- There are no obvious dark corners;
- The filter ring does not block the camera;
- The mount stays stable while shooting.
If you see dark corners or part of the filter ring in the image, reposition the mount or adjust the arm slightly.
4. Use 1x or Higher Zoom. Avoid 0.5x Ultra-Wide
The PZ300 works best with the 1x main camera, 2x camera, or 3x telephoto camera.

We do not recommend using the 0.5x ultra-wide camera. Ultra-wide lenses have a very wide field of view and may capture the edge of the filter ring, causing vignetting. This is a physical limitation of ultra-wide lenses, not a product defect.
5. Install the Filter Correctly
The PZ300 uses a 52mm threaded filter mount. To install a filter, align it with the thread and gently screw it in.
Please note:
- Do not force the filter;
- Do not screw it in at an angle;
- Do not overtighten it;
- Hold the metal frame when removing the filter;
- Avoid touching the glass surface directly;
- Store the filter in its case when not in use.
2. What Each PZ300 Filter Does and How to Use It
The PZ300 is useful because you can switch filters depending on the scene. Each filter has a different purpose.
1. CPL Filter: Reduce Reflections from Water, Glass and Car Windows

The CPL filter is one of the most useful filters in the PZ300 system. It helps reduce reflections from non-metallic surfaces and makes the image look clearer and cleaner.
Best Uses for the CPL Filter
The CPL filter is ideal for:
- Water, rivers, lakes and oceans;
- Glass windows and shop displays;
- Car windows and windshields;
- Leaves and plants;
- Outdoor landscapes and skies;
- Any scene where you want to reduce glare and reveal more detail.
For example, when shooting a stream, the CPL can reduce surface reflections and reveal the rocks and textures under the water. When shooting through glass, it can reduce unwanted reflections and make the image cleaner.
How to Use the CPL Filter
After installing the CPL filter, point your camera at a reflective surface. Slowly rotate the front ring of the CPL filter. You will see the reflection become stronger or weaker.
Stop rotating when the reflection is reduced and the details look clearer.
CPL Filter Tips
The CPL filter does not remove every reflection from every angle. It works best on reflections from non-metallic surfaces such as water, glass, leaves and wet surfaces.
It may be less effective on mirrors, metal surfaces, or when shooting directly into strong light.
2. ND2-400 Variable ND Filter: Control Light for Video and Long Exposure

The ND2-400 is a variable neutral density filter. It reduces the amount of light entering the camera, giving you more control in bright environments.
Best Uses for the ND2-400 Filter
The ND2-400 filter is ideal for:
- Outdoor video in bright sunlight;
- Beaches, snow, streets and other bright scenes;
- Creating natural motion blur in video;
- Long exposure effects for waterfalls, rivers or traffic;
- Manual camera apps where you control shutter speed and ISO.
How to Use the ND2-400 Filter
After installing the ND2-400 filter, rotate the front ring to adjust brightness.
A higher ND level makes the image darker.
A lower ND level makes the image brighter.
For video, we recommend using a professional camera app that allows manual control of frame rate, shutter speed and ISO. This helps you create smoother motion and a more cinematic look.
ND2-400 Filter Tips
The ND2-400 is a variable ND filter. At very high settings, you may see an X-shaped pattern or uneven brightness. This is a common optical effect with variable ND filters at extreme settings.
If this happens, rotate the filter slightly back to a lower ND level.
3. 4-Line Short Star Filter: Turn Point Lights into Starbursts
 The 4-line short star filter turns point light sources into four-direction starburst effects. It adds a cinematic and atmospheric look to night scenes, lights and reflections.
Best Uses for the Star Filter
The star filter is ideal for:
- Street lights at night;
- Car headlights;
- Christmas lights;
- Neon signs;
- Cafes, bars and city night scenes;
- Small highlights on water, glass or metal.
How to Use the Star Filter
After installing the star filter, point your camera at a small, bright light source. You can rotate the filter to adjust the direction of the starburst lines.
The effect depends on point light sources. The brighter and more concentrated the light source is, the more visible the star effect will be.
Star Filter Tips
If there are no clear point light sources in the scene, the star effect may not be obvious.
Regular daytime landscapes, cloudy outdoor scenes, or evenly lit indoor spaces are not ideal for this filter. Use it in night scenes or places with visible small highlights.
4. 10x Macro Lens: Capture Small Details Up Close

The 10x macro lens is designed for close-up photography. It helps your phone capture details that are easy to miss with the naked eye.
Best Uses for the 10x Macro Lens
The 10x macro lens is ideal for:
- Flowers and leaf textures;
- Insects;
- Jewelry;
- Leather, wood and fabric textures;
- Food close-ups;
- Product detail shots;
- Handmade objects and small items.
How to Use the 10x Macro Lens
After installing the macro lens, move your phone close to the subject. The macro lens is not designed for distant subjects. You need to move within the close focusing range and slowly adjust the distance until the image becomes sharp.
Use the 1x main camera and keep your phone as steady as possible. For better results, use a tripod, desk stand or both hands to stabilize your phone.
Macro Lens Tips
If you use the macro lens to shoot distant subjects, the image will look blurry. This is normal.
Good lighting is also important for macro photography. Use a bright environment or add side lighting to reveal more texture and detail.
5. Orange & Yellow Filters: For Reef Aquariums and Coral Photography

The orange and yellow filters are mainly designed for reef aquariums, coral tanks and blue LED lighting environments.
Many reef tanks use blue LED lights. When shooting directly with a phone, the image may look too blue, and coral colors can be difficult to capture. Orange and yellow filters help reduce blue light and make coral colors look closer to what you see with your eyes.
When to Use the Orange Filter
Use the orange filter when the blue light is very strong.
If your image looks heavily blue and the coral colors are hard to see, the orange filter is usually the better choice. It provides stronger blue light correction and works well for fluorescent corals.
When to Use the Yellow Filter
Use the yellow filter when the blue light is not too strong or when you want a more natural look.
The yellow filter gives lighter correction and keeps more of the original tank atmosphere.
How to Use Orange and Yellow Filters
Install the filter and shoot through the aquarium glass. Use the 1x main camera and keep your phone as parallel to the glass as possible. This helps reduce reflections and distortion.
If the image still looks too blue, try lowering the exposure or manually adjusting white balance in a professional camera app.
3. Common Questions About the PZ300
Why do I see vignetting at 0.5x?
The 0.5x ultra-wide camera has a very wide field of view and may capture the edge of the filter ring. Use 1x or higher zoom for better results.
Why does the CPL not remove all reflections?
The CPL needs to be rotated to the correct angle. It works best on angled reflections from water, glass and leaves, but it is less effective on mirrors and metal surfaces.
Why does the ND2-400 show an X pattern?
This can happen at very high variable ND settings. Rotate the filter slightly back to reduce the ND strength.
Why is the star filter effect not obvious?
The star filter needs point light sources. Without street lights, car lights, light strings or small highlights, the star effect will be weak.
Why is the macro lens blurry when shooting far away?
The macro lens is for close-up shooting only. Move your phone closer to the subject and adjust the distance until the image is sharp.
4. Final Tips: Choose the Right Filter for the Scene

With the correct setup and the right filter, the Magwink PZ300 can help you capture clearer, more creative and more professional-looking photos and videos with your phone.